How to Add an Addon Domain in cPanel
An Addon Domain allows you to host an additional website under the same hosting account using a separate domain name. This guide will walk you through the steps to add an addon domain in cPanel.
Prerequisites
Before you begin, please ensure:
-
You have access to cPanel
-
The domain you want to add is already registered
-
The domain’s nameservers are pointing to your hosting server
-
Your hosting package supports addon domains
Step-by-Step Guide
Step 1: Log in to cPanel
-
Open your browser and access your cPanel (e.g.,
yourdomain.com/cpanel) -
Enter your cPanel username and password
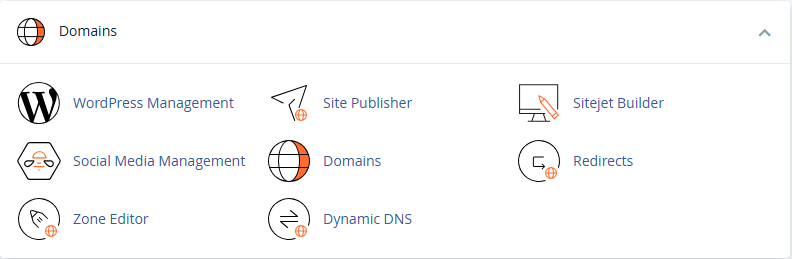
Step 2: Open the Domains Section
-
In the cPanel dashboard, go to the Domains section
-
Click on Domains
Step 3: Create a New Domain
-
Click on Create A New Domain

-
Enter your domain name (e.g.,
example.com) -
Untick the option “Share document root”
-
This ensures the new domain uses a separate directory
-
-
Click Submit
Your addon domain has now been added successfully.
Step 4: Upload Website Files
After adding the addon domain:
-
Go to File Manager in cPanel
-
Navigate to the addon domain’s document root directory
-
Upload your website files (e.g.,
index.html, WordPress files, etc.)
