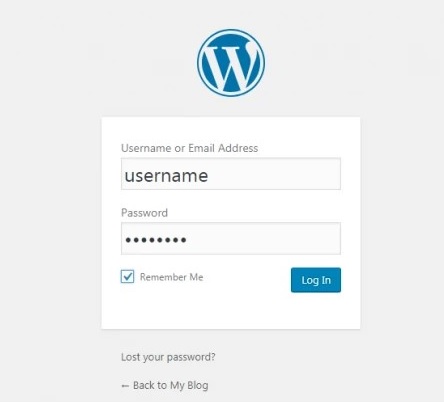
Step 1: Log in to the WordPress Dashboard
- Navigate to your website’s login page (e.g., yourdomain.com/wp-admin).
- Enter your username and password to access the WordPress dashboard.
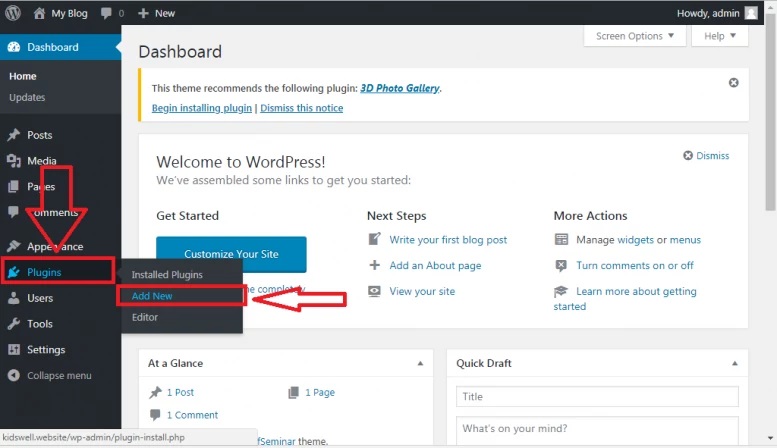
Step 2: Install and Activate a CAPTCHA Plugin
- Navigate to the Plugins Section: In the WordPress dashboard menu, click on Plugins and then select Add New.
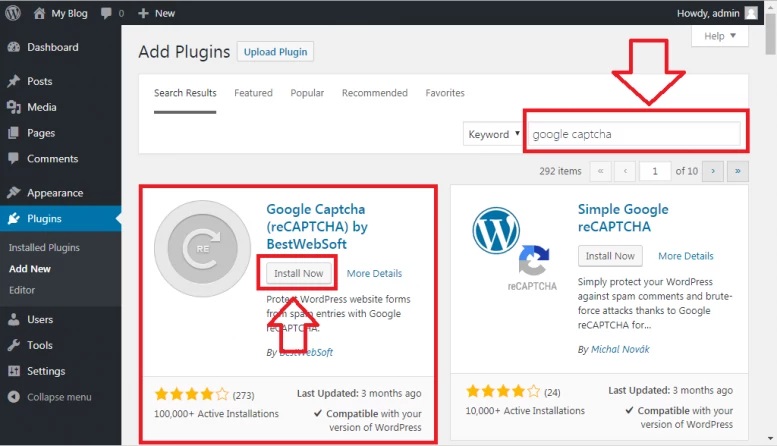
- Search for a CAPTCHA Plugin: Use the search bar to find a plugin (e.g., "reCAPTCHA by BestWebSoft" or "Simple Google reCAPTCHA").
- Install the Plugin: Click the Install Now button next to the desired plugin.
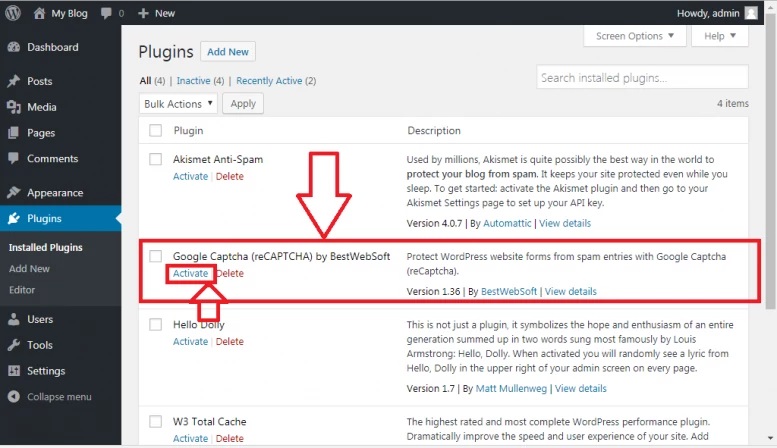
- Activate the Plugin: After installation, click Activate to enable the plugin.

Step 3: Register Your Site with Google reCAPTCHA
- Open the Google reCAPTCHA Admin Console.
- Log in: Use your Google account credentials.
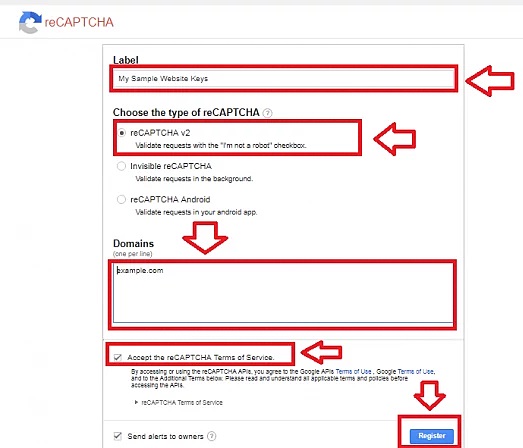
- Register Your Domain:
- Label: Enter a name to identify the site (e.g., "My WordPress Site").
- Choose reCAPTCHA Type:
- reCAPTCHA v2 (Checkbox): Displays a checkbox for users to confirm they’re human.
- Invisible reCAPTCHA v2: Works without user interaction unless suspicious activity is detected.
- reCAPTCHA v3: Operates in the background using a scoring system.
- Domains: Add the domain name where CAPTCHA will be used (e.g., com).
- Owners: Your Google account will be listed automatically; add others if needed.
- Accept the Terms of Service and click Submit.
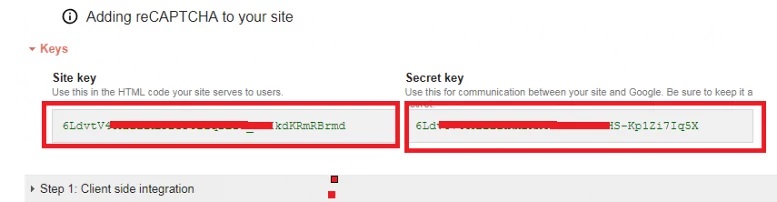
- Copy the Keys: Google will provide a Site Key and a Secret Key. Copy these for use in the WordPress plugin settings.
Step 4: Configure the Plugin with Google reCAPTCHA Keys
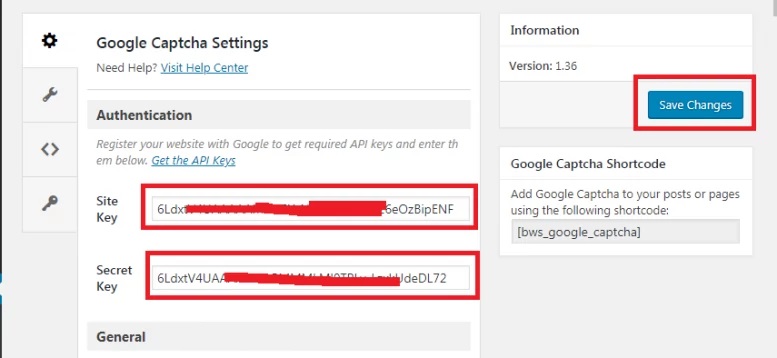
- Go to the Plugin Settings: Locate the plugin’s settings page in the WordPress dashboard. This might be under Settings, Tools, or a dedicated menu item like "reCAPTCHA Settings."
- Enter the Keys: Paste the Site Key and Secret Key from Google into the respective fields in the plugin settings.
- Select reCAPTCHA Type: Choose the same CAPTCHA type you selected during site registration (v2 Checkbox, Invisible CAPTCHA, or v3).
- Save the Settings: Click the Save or Update button to apply the configuration.
Step 5: Enable CAPTCHA on Forms
- Default WordPress Forms: Most plugins automatically add CAPTCHA to login, registration, and comment forms.
- Custom Forms: If you’re using a form plugin (e.g., Contact Form 7 or WPForms), add the CAPTCHA manually:
- For Contact Form 7, use the [recaptcha] shortcode in the form layout.
- For WPForms, enable reCAPTCHA in the form settings under WPForms > Settings > CAPTCHA.
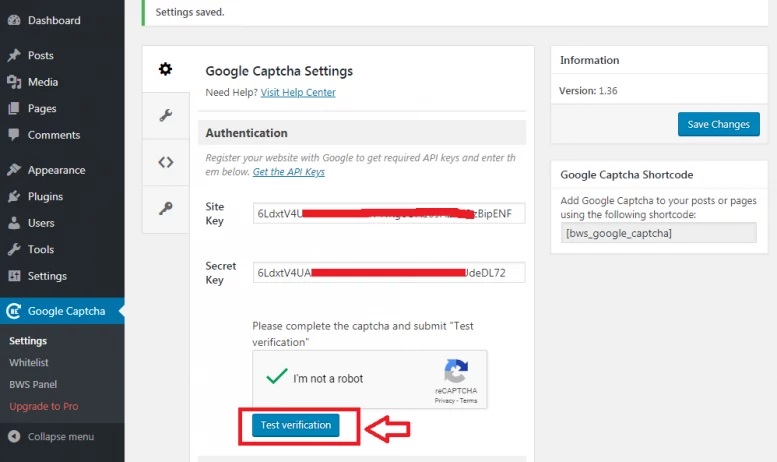
Step 6: Test the CAPTCHA
- Visit the page or form where CAPTCHA is implemented (e.g., login page, comment form, or contact form).
- Verify that:
- CAPTCHA appears as expected.
- It functions correctly by submitting a test form.
- For reCAPTCHA v3, check the score logging in the plugin or Google Admin Console to ensure it’s detecting activity.
Step 7: Monitor and Maintain
- Regularly monitor form submissions to confirm that spam activity has reduced.
- Update the plugin and reCAPTCHA keys as needed to maintain security and compatibility.
Conclusion
We have demonstrated how to install and configure Google reCAPTCHA on your WordPress site. With this security feature in place, harmful bots will be prevented from submitting spam comments or attempting to log in to your WordPress site. We hope this guide helps you enhance your site's security.
