This guide helps you:
-
Make a Cloudflare account
-
Add your domain to Cloudflare
-
Add Shopify DNS records
-
Set Cloudflare nameservers
Understand what to do for .com, .pk, or other domains
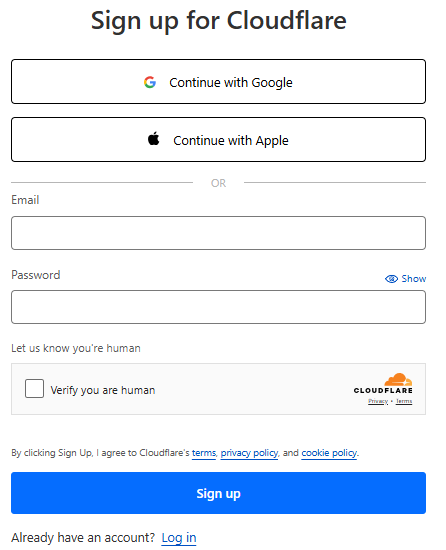
Step 1: Create a Cloudflare Account
- Type your email and password, and click "Verify you are human", then click Sign Up
Step 2: Add Your Domain in Cloudflare
-
Log in to Cloudflare
-
Click “Add a Site”
-
Type your domain (like
yourdomain.com) and click Continue
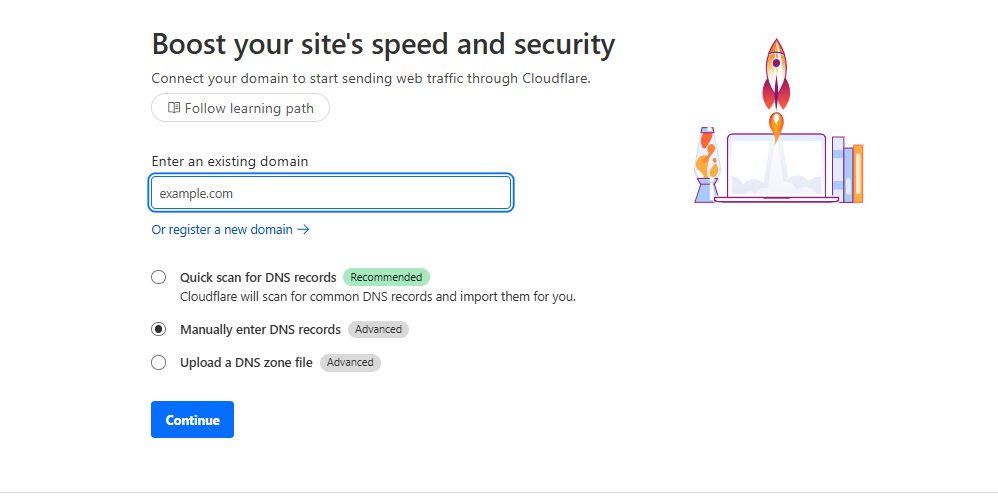
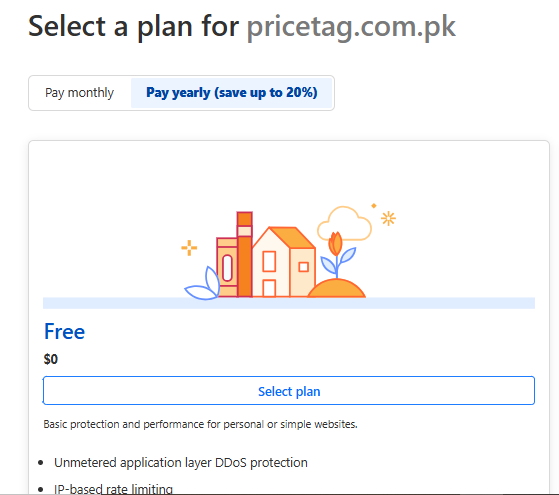
4. Choose the Free Plan, then click Continue
Step 3: Add Shopify DNS Records
-
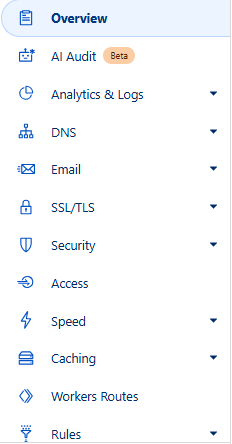
In your Cloudflare dashboard, click on your domain name (e.g.,
yourdomain.com). -
Then click on “DNS” from the left-hand menu.
-
Click the “Add Record” button.
Now add the following two DNS records one by one:
First Record (A Record for Shopify)
Click Save
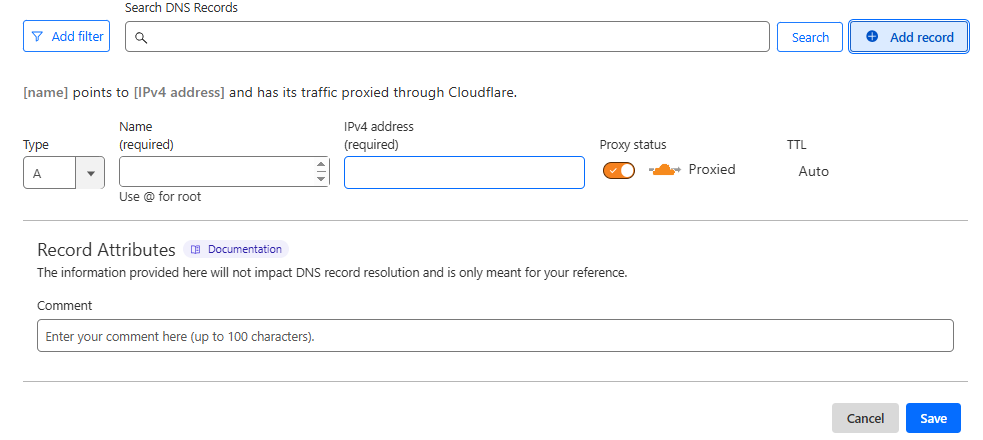
Second Record (CNAME for www)
Click Save
Important Notes:
-
Delete any old
AorCNAMErecords for@orwwwbefore adding these. -
Make sure the Proxy Status is set to DNS Only, not orange.
Step 4: Get Cloudflare Nameservers
-
After DNS setup, Cloudflare will show two nameservers (like
bella.ns.cloudflare.com,jeff.ns.cloudflare.com) -
Copy both nameservers
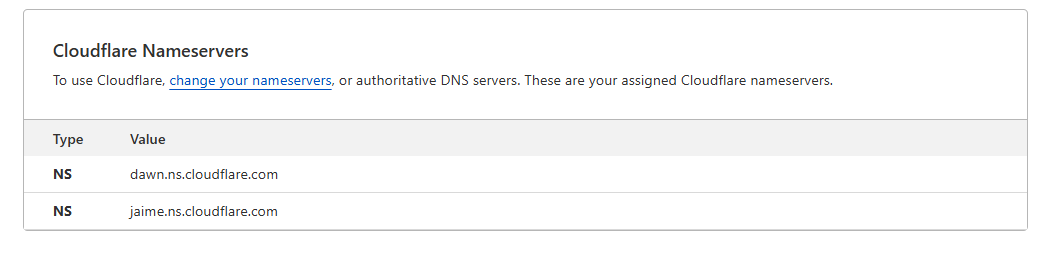
Step 5: Change Nameservers in Your Domain Panel
If You Have a .com Domain:
-
Login to your domain registrar (like GoDaddy, Namecheap, etc.)
-
Go to Manage Domain → Nameservers
-
Choose Custom nameservers
-
Paste both Cloudflare nameservers
-
Save changes
If You Have a .pk, .ae, or Other Domain:
Some domains don’t allow direct nameserver change in the panel.
In this case:
Send your Cloudflare nameservers to your domain provider and ask them to update it for you.
Step 6: Wait for DNS to Update
-
DNS usually updates in few hours, but it can take up to 24–48 hours
