
How to Backup or Restore Your Website, Full Account, Database, or Email using JetBackup 5
JetBackup 5 allows you to easily backup or restore different parts of your hosting account — including website files, databases, emails, and the entire cPanel account.
Step 1: Access JetBackup 5 in cPanel
-
Login to your cPanel.
-
Scroll down to the JetBackup 5 section.
-
Click on the desired backup type:
-
Full Backups
-
Home Directory
-
Databases
-
Email Accounts
-
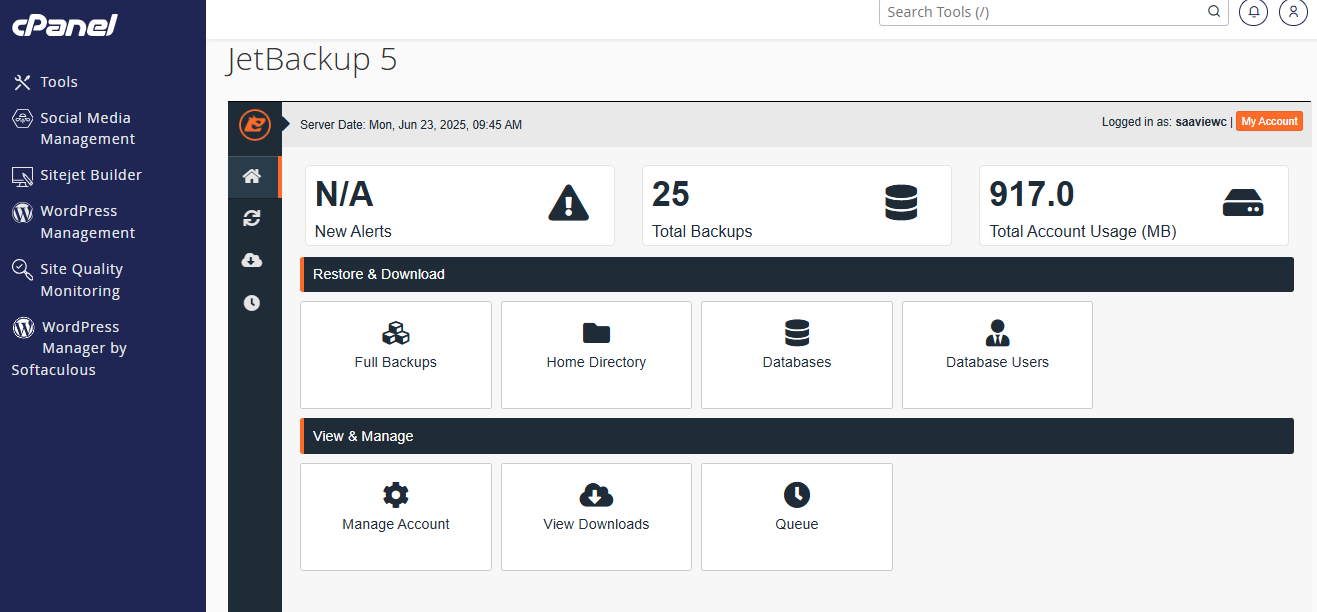
Option 1: Download or Restore Full Account Backup
-
Click Full Backups.
-
You'll see a list of available backups with dates.
-
Click:
-
Download to save the backup to your local device.
-
Restore to restore your full account (files, databases, emails, cron jobs, etc.).
-
-
Confirm the restore action.
Full restore may overwrite existing data.
Option 2: Restore Website Files (Home Directory)
-
Click Home Directory.
-
View available file backups by date.
-
Select the desired date, then:
-
Click Download to save.
-
Click Restore, then select specific files or folders (e.g.,
/public_html) and confirm.
-
Option 3: Restore Database
-
Click Databases.
-
Select the database you want to restore (e.g.,
saaview_wp). -
Click:
-
Download to get a
.sqlfile. -
Restore to revert the database to a previous state.
-
Option 4: Restore Email Account
-
Click Email Accounts.
-
Choose the email account from the list.
-
Click Restore to bring back deleted or old emails for that account.