Creating a subdomain in cPanel is a straightforward process that allows you to manage different sections of your website efficiently.
Steps to Create a Subdomain in cPanel
-
Log in to your cPanel.
-
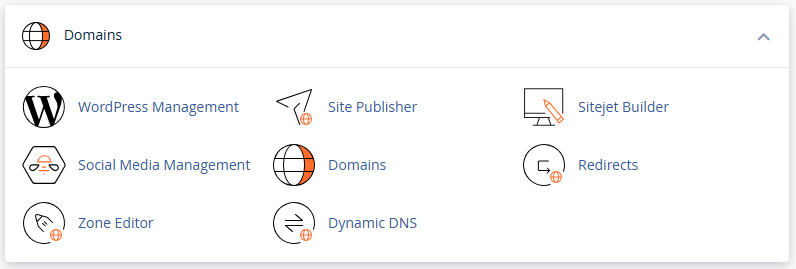
Scroll to the Domains section and click “Domains”.
-
Click on “Create a New Domain”.

-
In the Domain field, enter your subdomain like this:
(Replace
blogwith the name of your subdomain) -
Uncheck the box that says:
"Share document root with
yourdomain.com"This ensures the subdomain has its own separate folder and content.
-
cPanel will automatically set the document root to something like:
-
Click Submit.

